Channels to Group & Control Access to Your Media
Kaltura MediaSpace (kaltura.uts.edu.au) allows you to create Channels, which are collections of related media/videos. Use channels to:
- upload and group media
- add users and modify their channel permissions
- share content using links and subscriptions
Types of Kaltura Channels at UTS:
1. Restricted and private Channels: for any user that you would like to allow viewing your channel
2. Public Channels: for all UTS users
Creating a Channel in Kaltura MediaSpace
In Katura.uts.edu.au, select the Channels tab.
Select Create Channel.
1. In the Name field, enter a unique descriptive name for your channel.
Note: Channels may not have the same name.
2. Add an optional Description for your channel.
3. Add optional Tags for users to find your channel.
4. For Privacy, decide who should be able to see the channel and its contents:

To allow users to receive notifications when new content is added, select the checkbox to the left of Enable subscription to channel.
Selecting this option provides a link for users to subscribe to the channel.
Adding media to the channel
Go to the Channels tab.
Select the channel you wish to add media to.
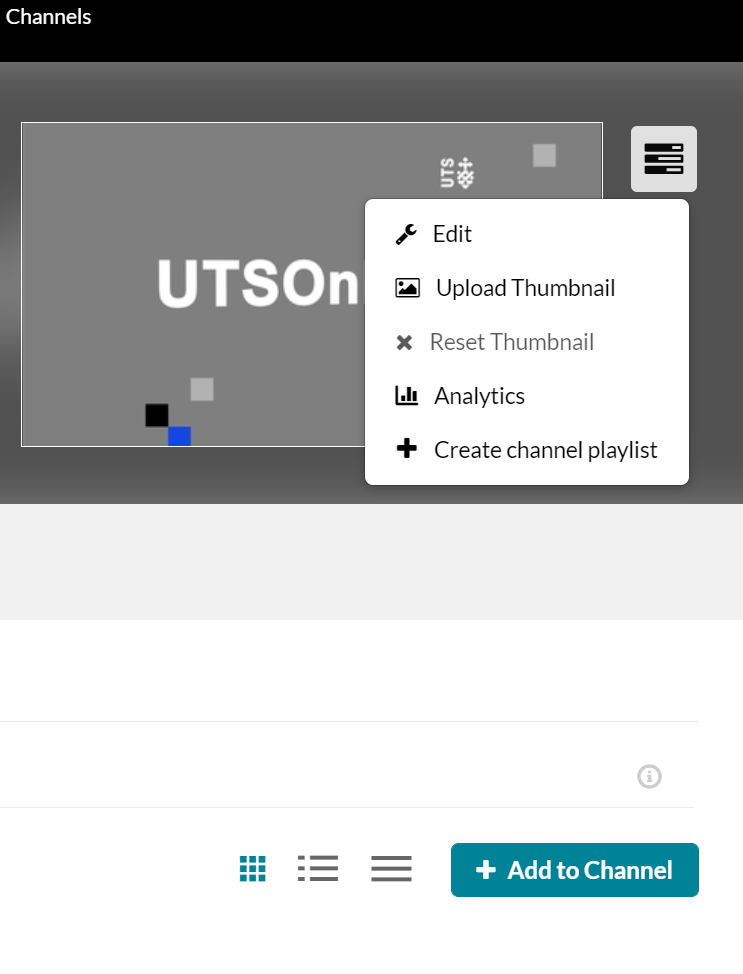
Select the Add to Channel button. The Add Media to Channel page appears with all media stored in My Media.
Choose from two options:
1. Select from your existing media in Kaltura My Media:
Select the checkbox(es) to the left of media you wish to upload.
Click Publish. The Channel page appears with the green status message All media was published successfully.
2. Upload new media by selecting the Add New dropdown menu.
Upload New Media: Upload from your computer or mobile device. When the upload completes the media is automatically published to your Channel.

Add users
- Edit the channel on the right top Edit icon
- Add users
- Choose what role you would like to give to the users


You can also create PlayList per different topics.